Once you have all your pieces cut out, find all your belt pieces and sew them together, matching the notches. You do this by looking at the short sides of the rectangles that make up your belt. Find the pieces that have the same number of notches on the short sides and lay them face to face with the notches matching. Face to face means that the right sides of the fabric are touching each other. Use 1/4″ seam allowance to sew the pieces together. For most presser feet 1/4″ seam allowance will correspond to the edge of the presser foot. Remember to backstitch at the beginning and the end.
When you have all belt pieces sewn together, first press the seams flat  and then press them open.
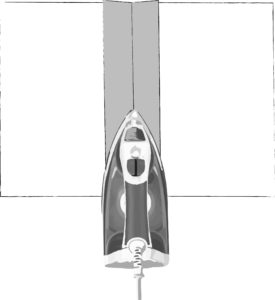
Pressing your seams flat first helps the top and bottom thread to meld together. The seam will look more crisp once you press it open, if you press it flat first.
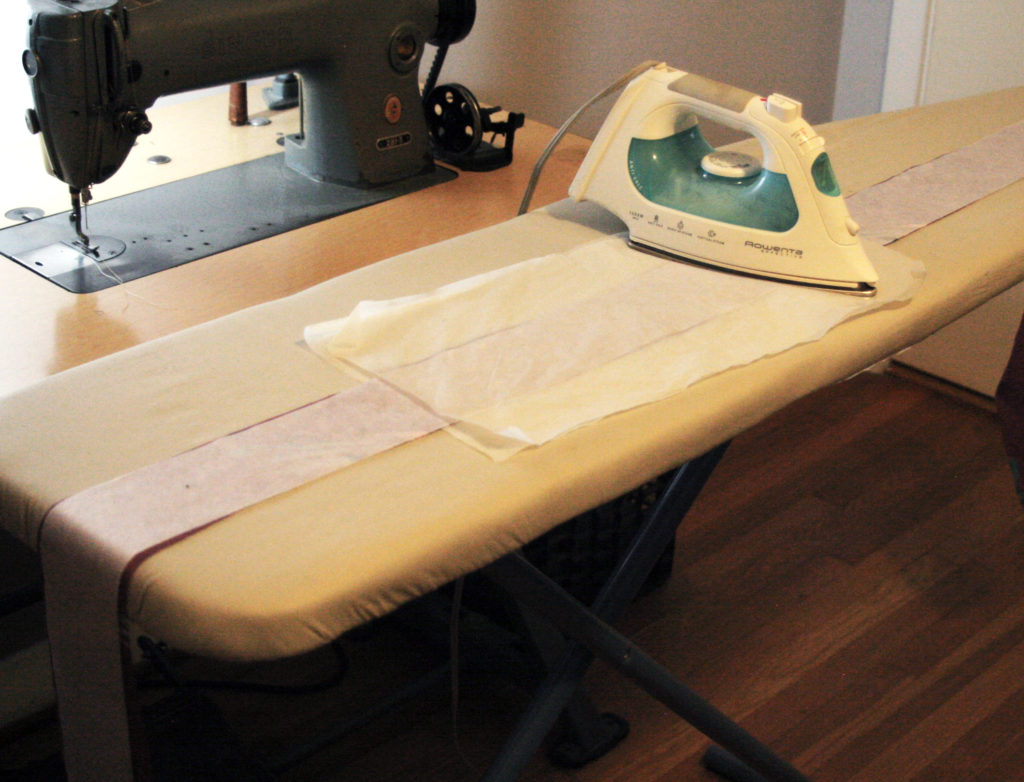
Now you can add your interfacing to the belt. Do this by laying the interfacing with the glue side* down onto the wrong side of the belt. Use a hot iron to adhere the interfacing to the belt. I like to use a Teflon pressing sheet to keep the glue from migrating to my iron. If you do this, just make sure to turn the steam off on your iron. The Teflon sheet will not allow the steam to go through and you will end up with a puddle if you forget to turn the steam off
*You should be able to feel little bumps on the side that contains the glue.