
I needed to shorten the sleeves of my daughter’s coat for a Christmas party, so I took the opportunity to take some photos and share a really useful alteration with you. She has been wearing the jacket with the sleeves rolled up, but since this is such a quick alteration I decided to take the time to do it.
If you have ever turned a jacket inside out and seen a small area of top stitching on the lining of one jacket sleeve you may have thought that the sleeve had already been altered or maybe that it was a mistake in manufacturing. Actually it is intentional and it is meant to make the jacket easier to alter. I’ll quickly explain how this works and then show you step by step.
The quick explanation is that you are going to undo the area of top stitching on the lining of one sleeve and turn both sleeves inside out through this opening. You then add stitching the distance you would like to shorten, away from the existing stitching and trim. Pull the sleeves back through the opening, press, restitch the opening on the sleeve lining and voila you are done!
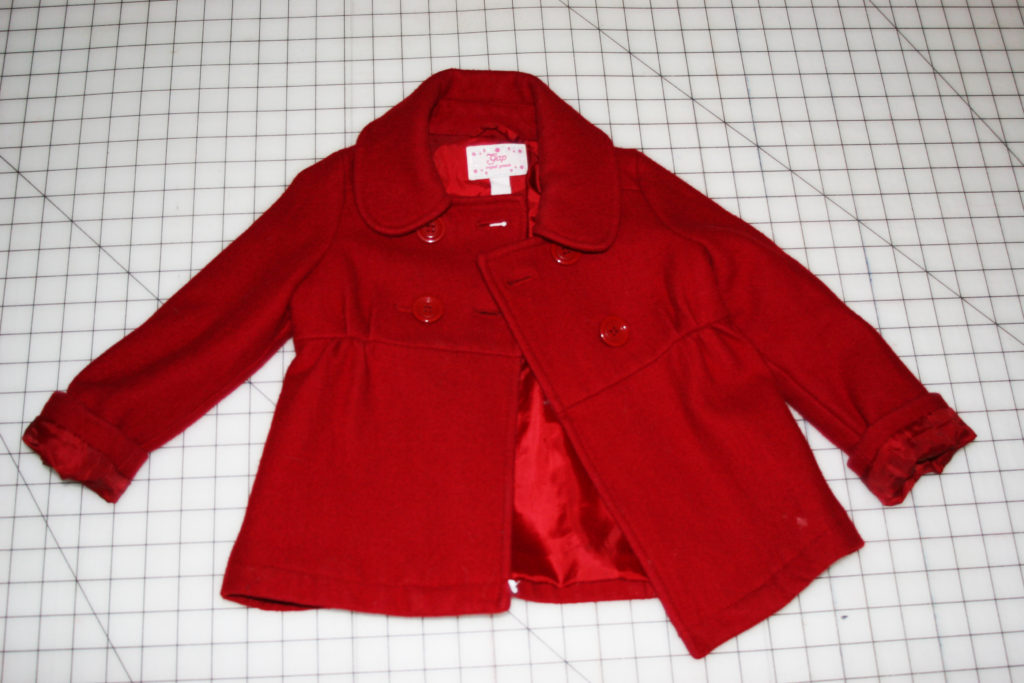
So this is the jacket before alterations. The sleeves are rolled up because my daughter has been wearing them like that for the last few weeks.
Now for the step by step.
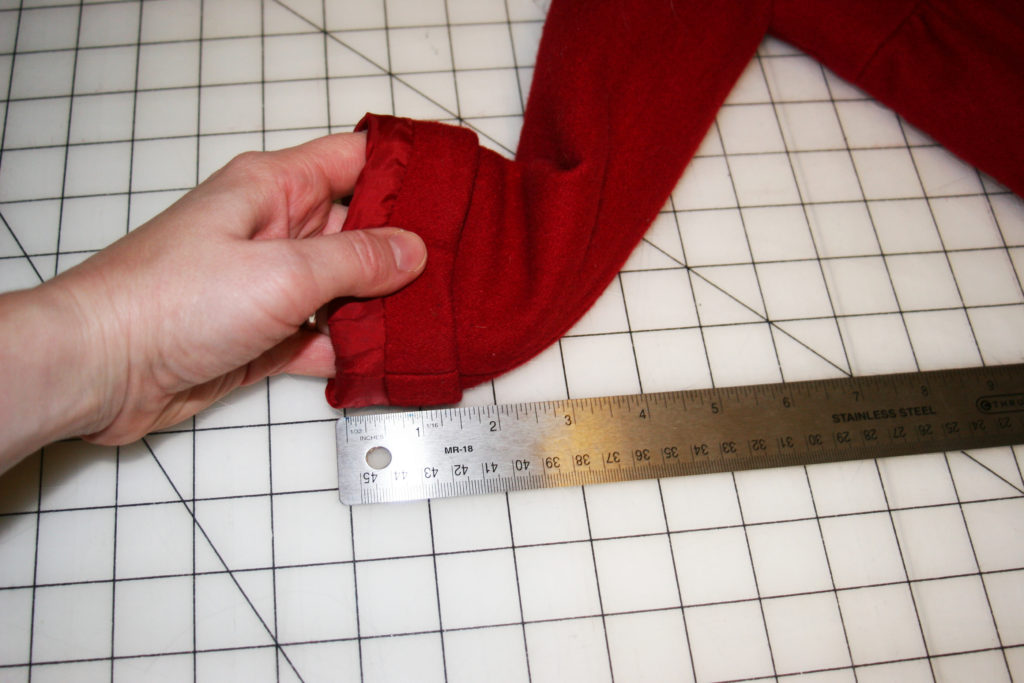
- Fist measure how much you need to shorten the sleeves. Note it somewhere. You will need that info later.
- Turn your jacket inside out and find the area of top stitching on the lining sleeve.
- Release the stitching using a seam ripper. Don’t worry about reinforcing the ends. That was already done for you in manufacturing. Wasn’t that nice of them?
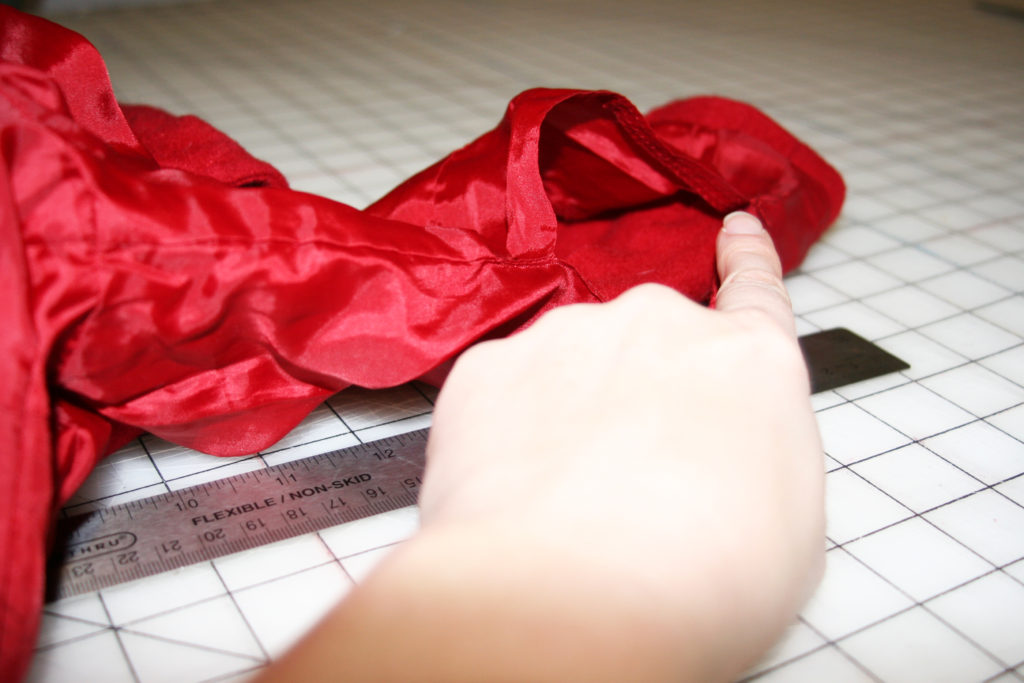
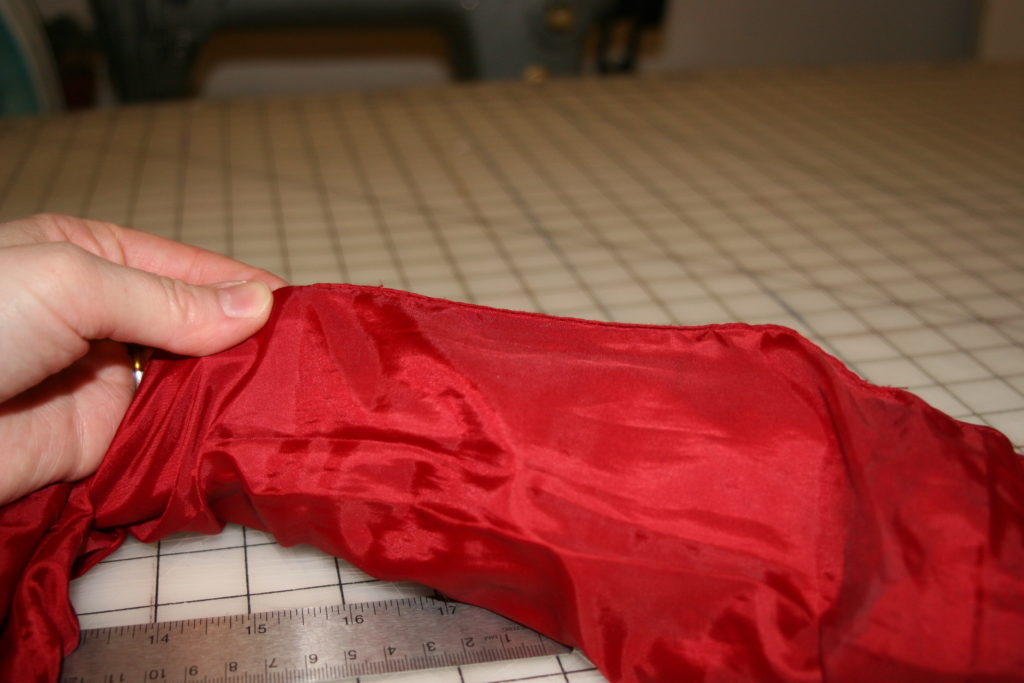
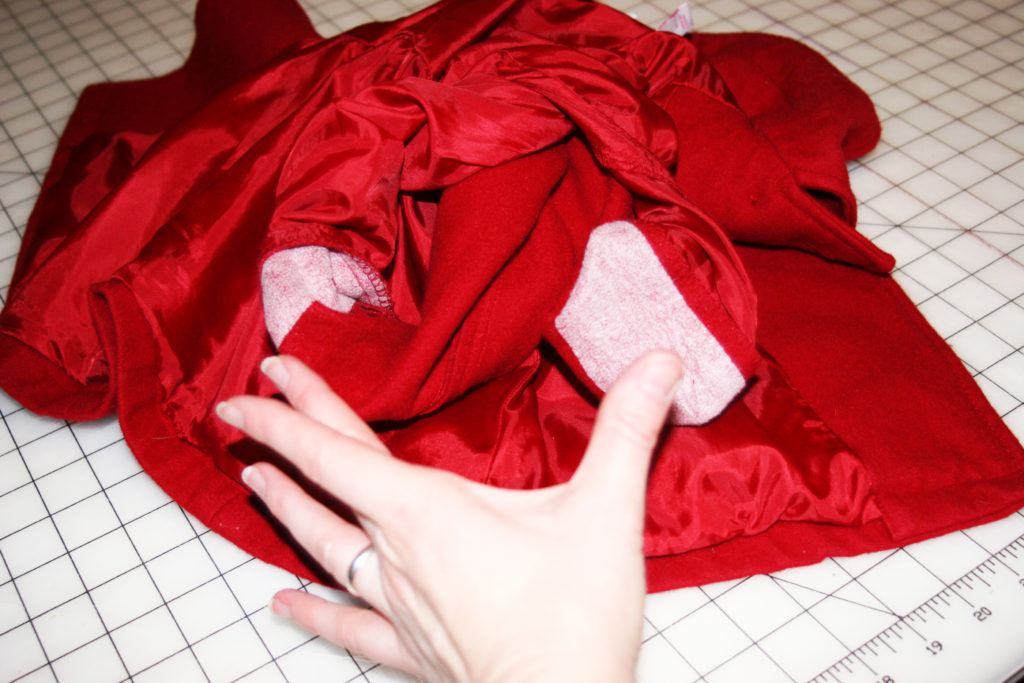
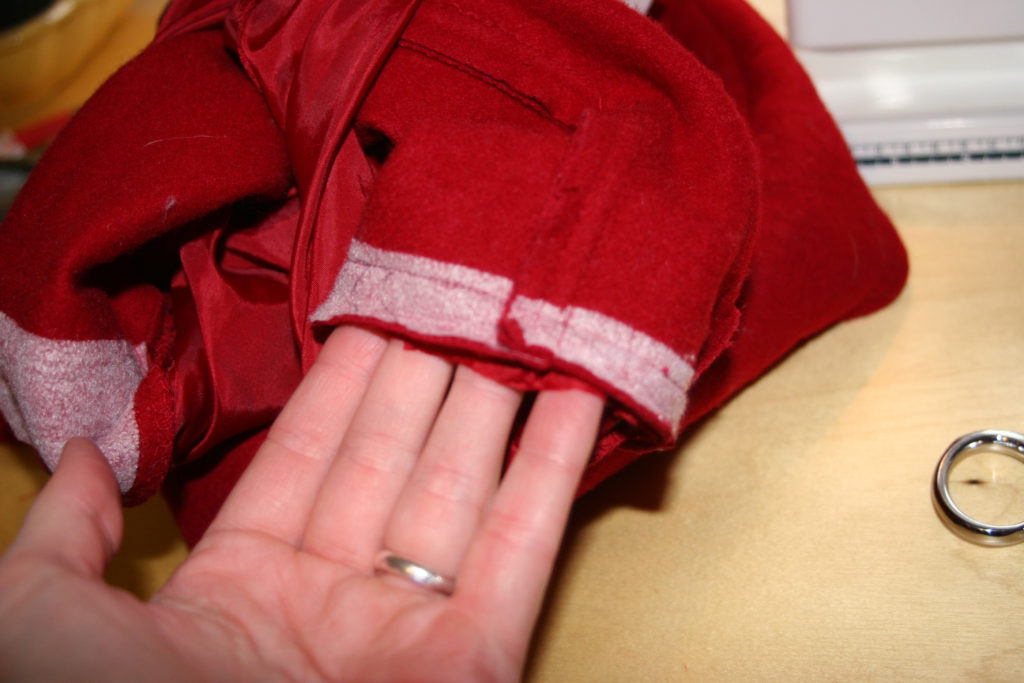
- Now you can reach through that opening and grab the opposite sleeve and pull it all the way through the torso area and out of the opening on the other sleeve.
 This is me sticking my arm through the opening and reaching all the way through the body of the jacket to the opposite sleeve to pull it through the opening.
 - Then pull the end of the remaining sleeve through the opening as well. This should give you two inside out sleeve ends sticking out of the hole created by releasing the top stitching.
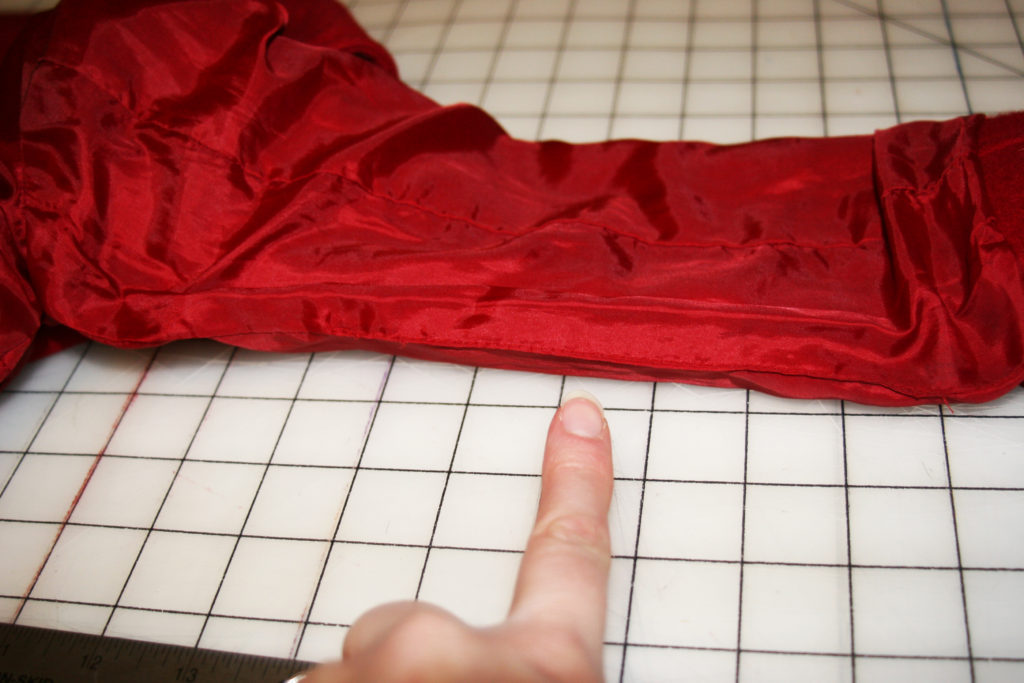
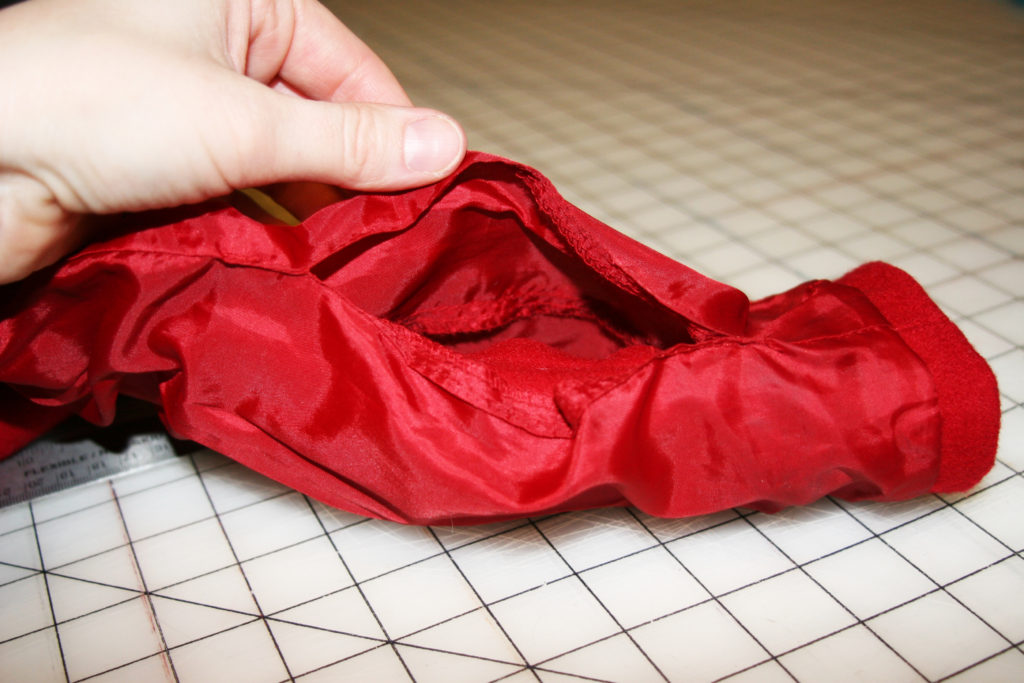
- There is probably a little bit of stitching that is holding the sleeve end to the seam allowance on the sleeve. This prevents the lining from pushing out when you put your arm through. Just note how deep the fold is and then release the stitching with a seam ripper. (Either write it down somewhere or do one sleeve at a time, so you can look back at the one that is still intact to see how much of a fold back is there.)
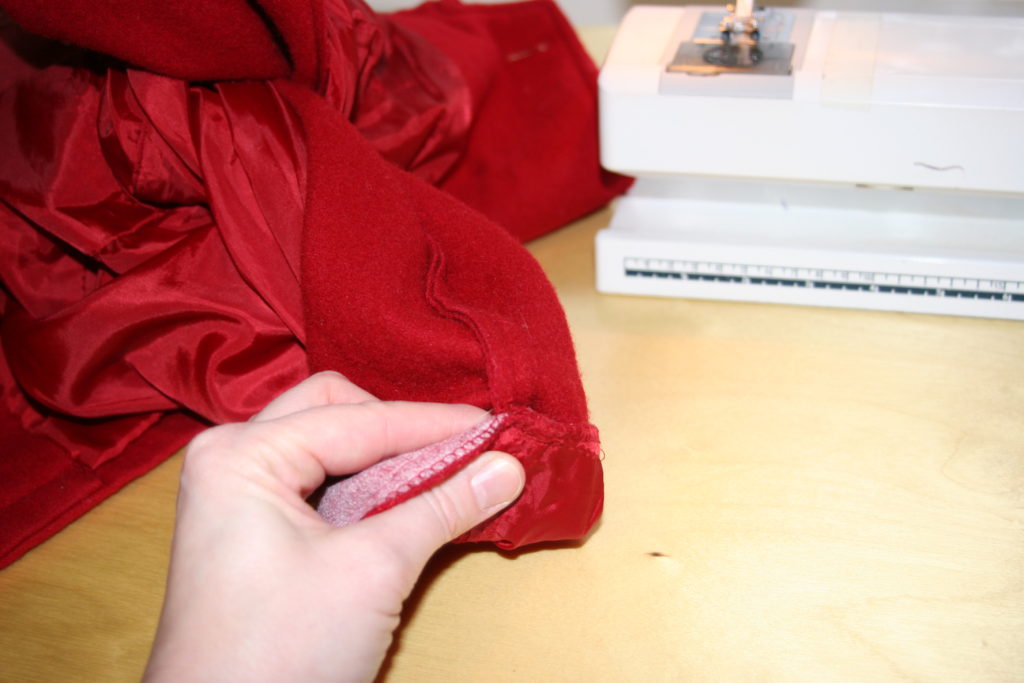 You can see that there is a little bit of stitching there that is preventing the sleeve from laying flat.
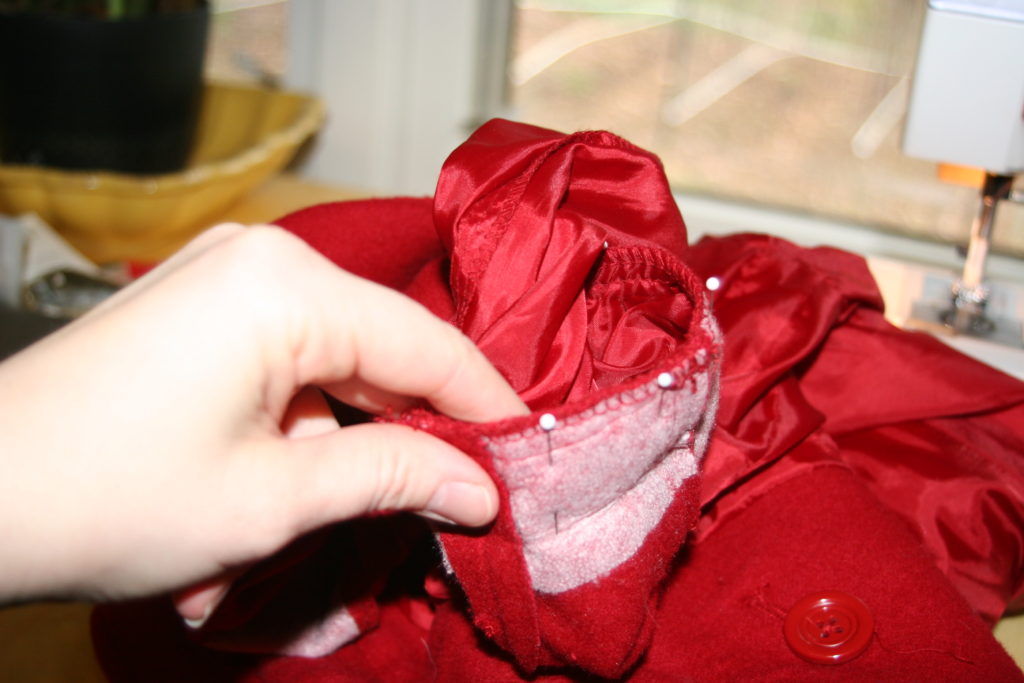
 - Once you have the fold back released, the sleeve should lay flat and you can add stitching the distance you would like to shorten the sleeves away from the existing stitching. Use pins to keep the lining from sliding around during sewing, but remove them before your presser foot reaches them. I do not recommend sewing over needles not only because your needle will occasionally hit a pin and break, but also because pins do not allow your fabric to lay flat so you end up with little wobbles in your stitch line when you sew over fabric being held by a needle.
 On most machines adult size jacket sleeves will fit around the sewing area. There may be a removable section on your machine that makes the sewing area smaller. This is exactly what that adjustment is for, fitting things like sleeve ends. However since this sleeve is on a child’s jacket so it doesn’t fit around the sewing area and I am having to kind of look down into a little hole. This is where pinning is really important.
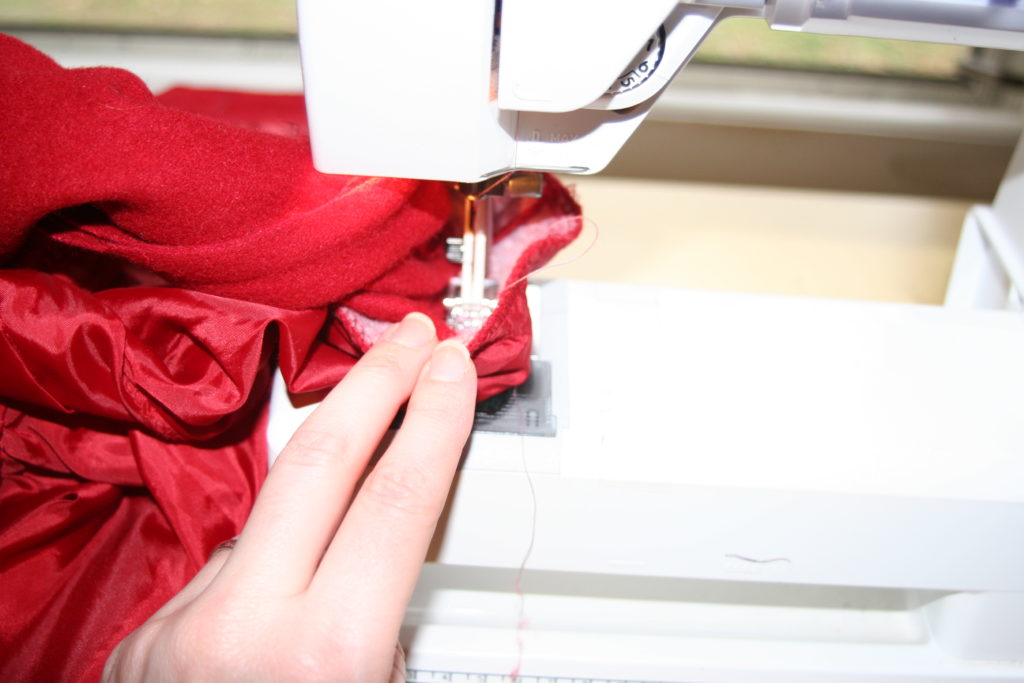
- This is what it should look like when you are done.
 Hopefully you can see the second line of stitching. I wish I could say it is in a contrasting color so you can see it better, but in reality that is just what I already had threaded. I was trying to hurry.
 - I trimmed the excess fabric, but if it is a lighter weight fabric or if you think you will need to lengthen the sleeves later, you could leave the excess. It will just add bulk.
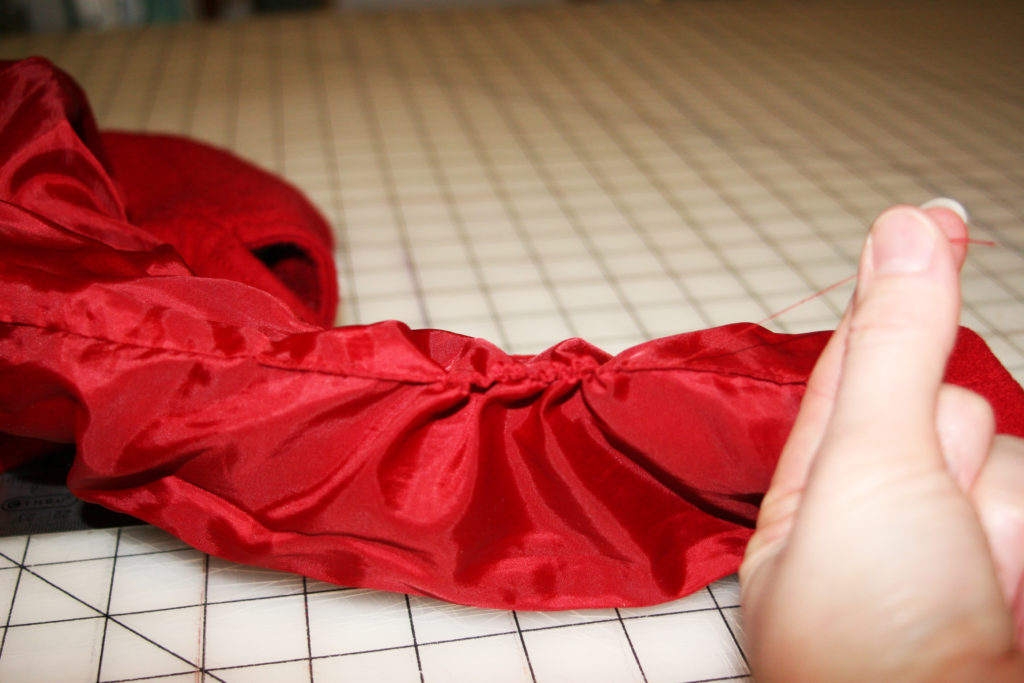
- Next add the fold back. Remember this keeps the lining from pushing out when you put the jacket on. It is also the amount that the face fabric folds back into the sleeve. If you look at jacket sleeves you will notice that the lining doesn’t come all the way to the end of the sleeve. It is set back a little. This is a product of the way the pattern is made. The lining sleeve is shorter than the face fabric sleeve, but to make sure that the lining doesn’t shift when you put your arm through and poke out of the end, you need to secure the fold back on the inside of the sleeve. You do this by folding the end of the sleeve back by the amount of the original fold back and tack the end of the sleeve to the seam allowance on the sleeve seam. If there is more than one sleeve seam, then tack the fold back in several locations.
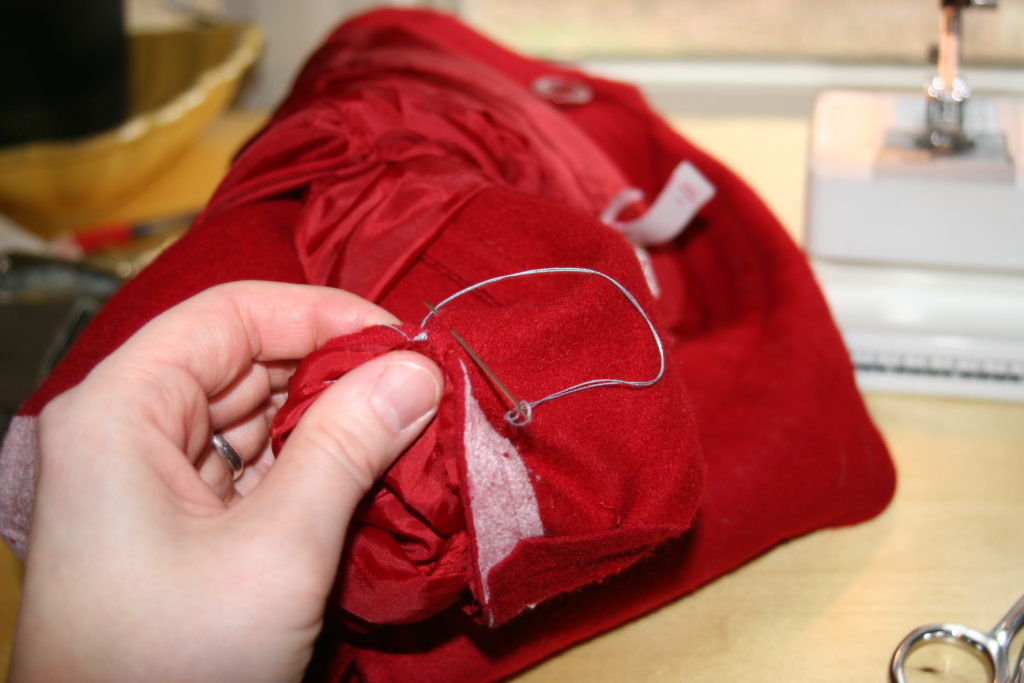 Again, I usually have a hand sewing needle in my pin cushion already threaded, so this is just the color that was on there, but it does make it nice and visible.
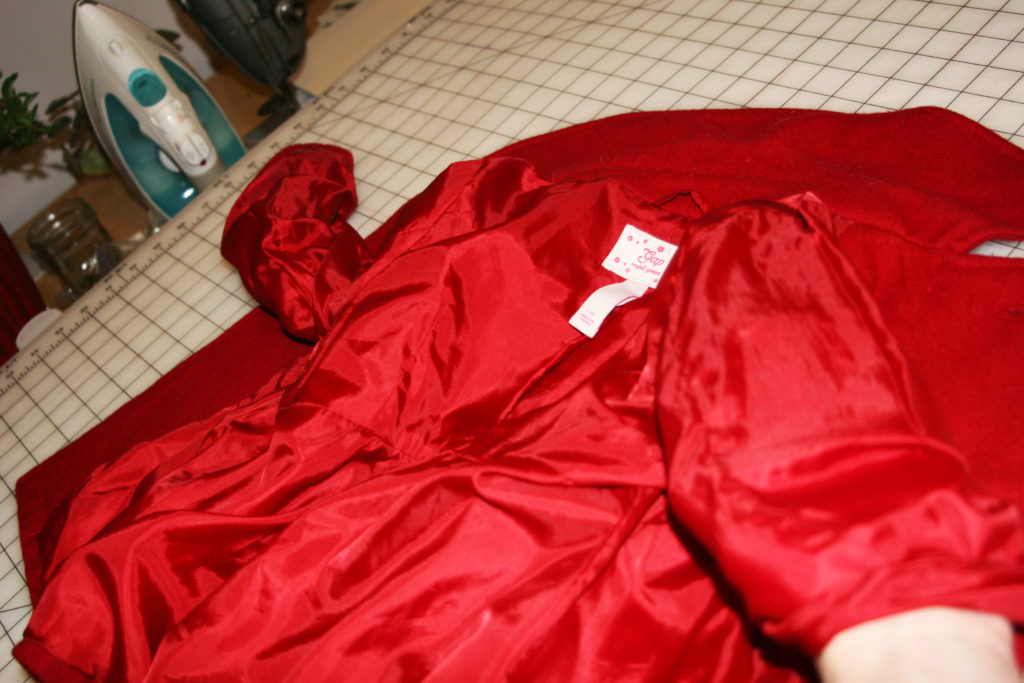
 - Once you have that done on both sleeves, you can turn them right side out again and top stitch the opening in the lining.

- This is what it looked like when I was done.
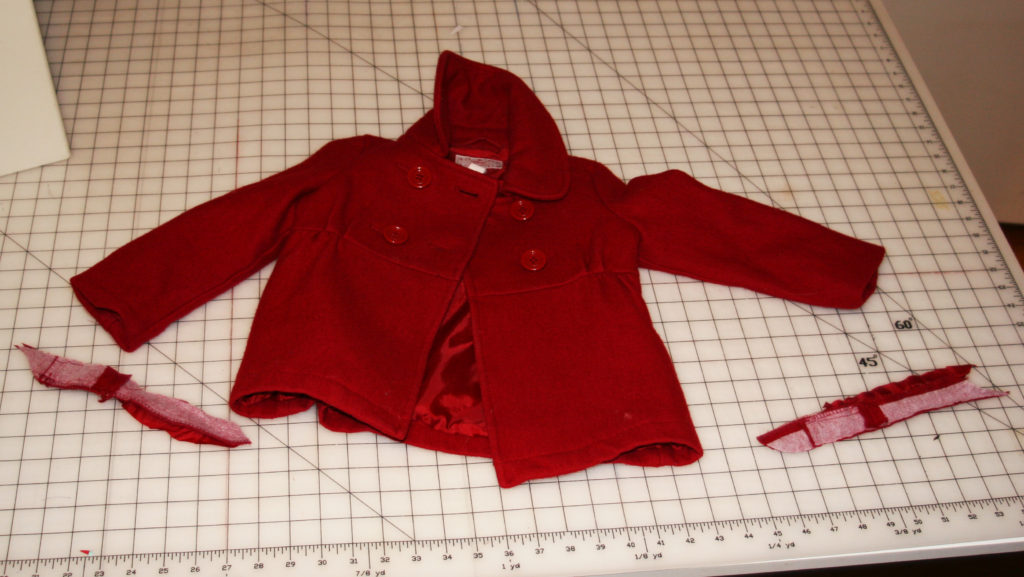 Now all I have to do is press it and get all the dog hair off!
 Ready for the party!