
Now that you have the belt pieces together and the interfacing added, you can set that aside for the time being and focus on getting the skirt ready.
First you want to add stay stitching to the top of your skirt to prevent it from stretching out. This is just a row of stitching 1/4″ from the raw edge at the top of the skirt. 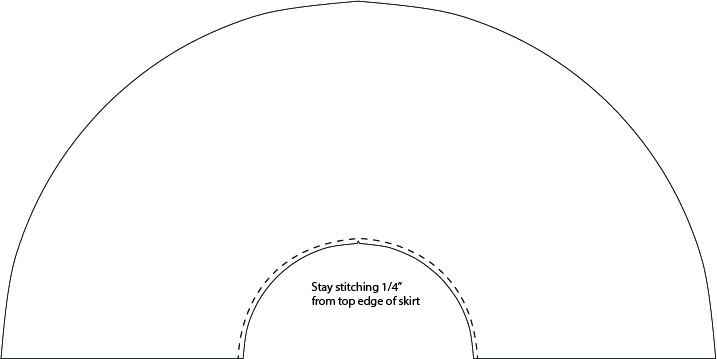
Next you will finish the sides of the skirt by folding the raw edge over 1/4″ and then again 3/8″ so that the raw edge is completely enclosed. Then stitch 1/4″ from the folded edge to secure the side hem in place. 
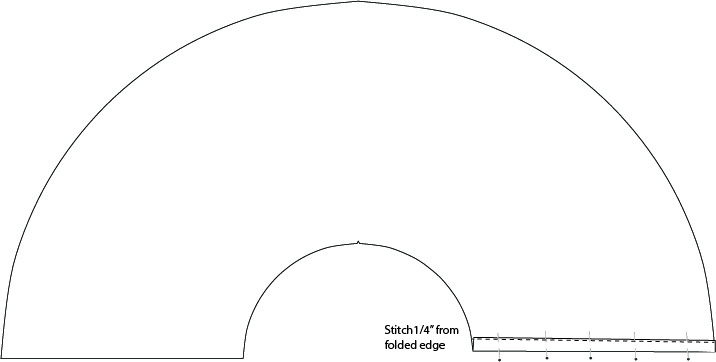

Take the pins out before you sew over them.
Then repeat this process again on the hem of the skirt. The hem will be harder because it is a curve and you are folding a larger circle into a smaller circle. Use your iron and steam to help ease the extra material into the smaller area. Use glass head pins so that you can iron on top of them without melting the head. 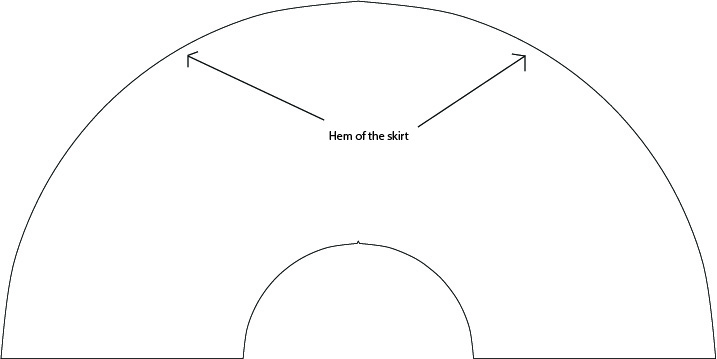
Another nice trick to help you have a crisp look is to add a few hand stitches to the edge/end of the hem to keep the excess from spilling out on the edges. Use a contrasting color so that you can easily see these stitches. This will make it easier to take them out after you have machine sewn the hem.
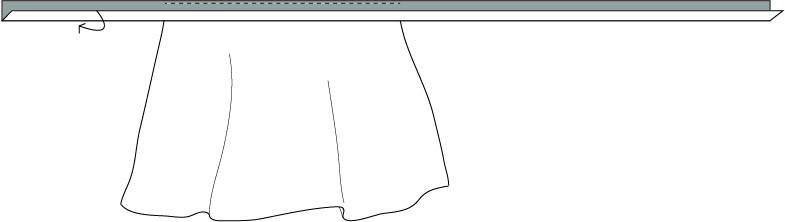
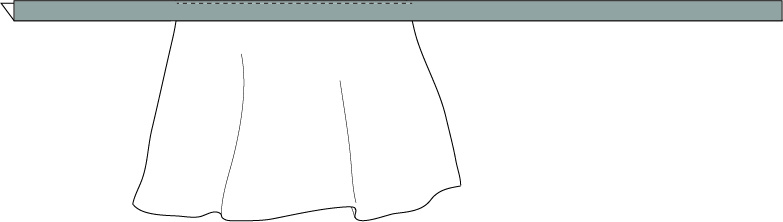
Next is to attach the belt. The notches that are on the belt pattern will line up with the center notch on the skirt. The two sides of the belt will not be even because I have designed this skirt to tie on the side of the hip instead of the back. If you plan to tie your belt in the back then ignore these notches and you can position the belt to have an even amount of tie on either side of the skirt.
First press the entire belt in half. Then lay the belt face down on the skirt, lining up one raw edge of the belt with the raw edge of the top of the skirt. Sew only one layer of the belt to the top of the skirt using 3/8″ seam allowance.

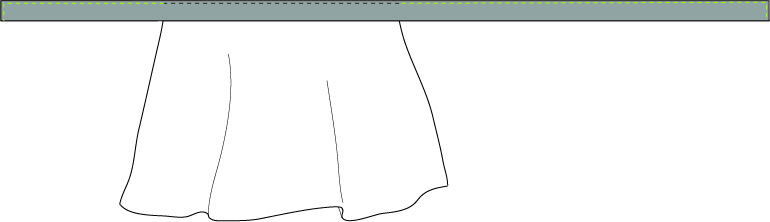
The next step can be a little confusing, so I’ve added step by step illustrations that hopefully will help. In order to finish the ends of the belt, you are going to flip the fold on the belt around so that the raw edges of the belt meet and the fabric is face to face or right side to right side.
Sew the ends and the long side of the belt using 3/8″ seam allowance and come as close as you can to the stitching that joins the skirt to the belt without actually sewing onto the skirt. Make sure not to take more than 3/8″ seam allowance. If you take more then the belt will be narrow and it will be harder to turn right side out.
Now you can flip the ends of the belt and press them flat. Once you get started flipping the ends of the belt, you can stick your finger down into the cone and use the friction of you finger to pull the material through. 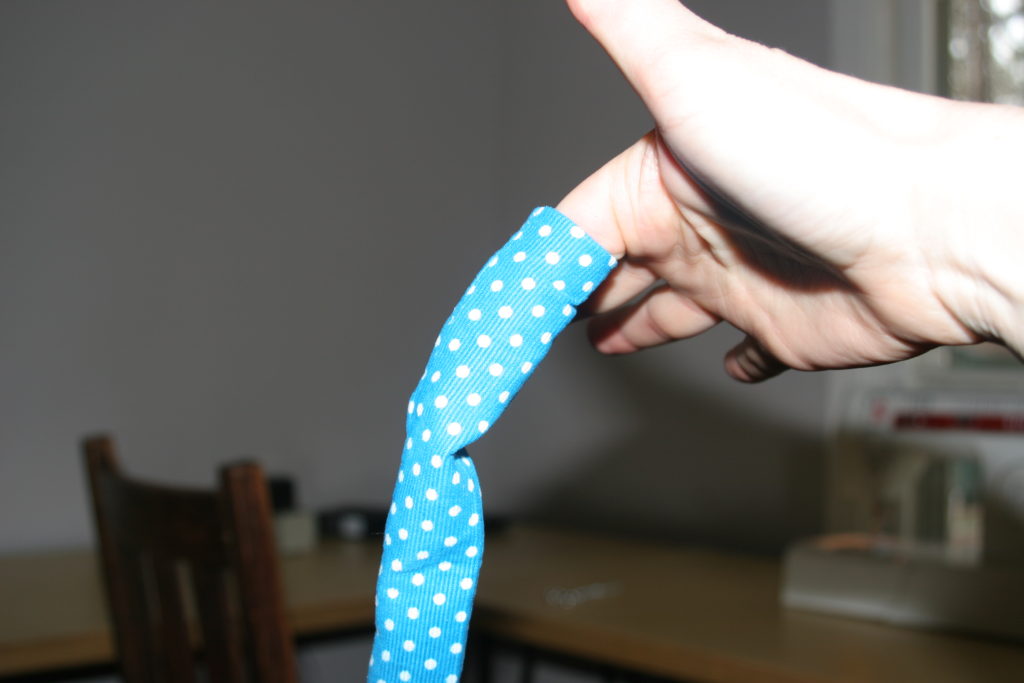
Once you have the ends turned right side out, you can use a chop stick to get the corners looking crisp.