
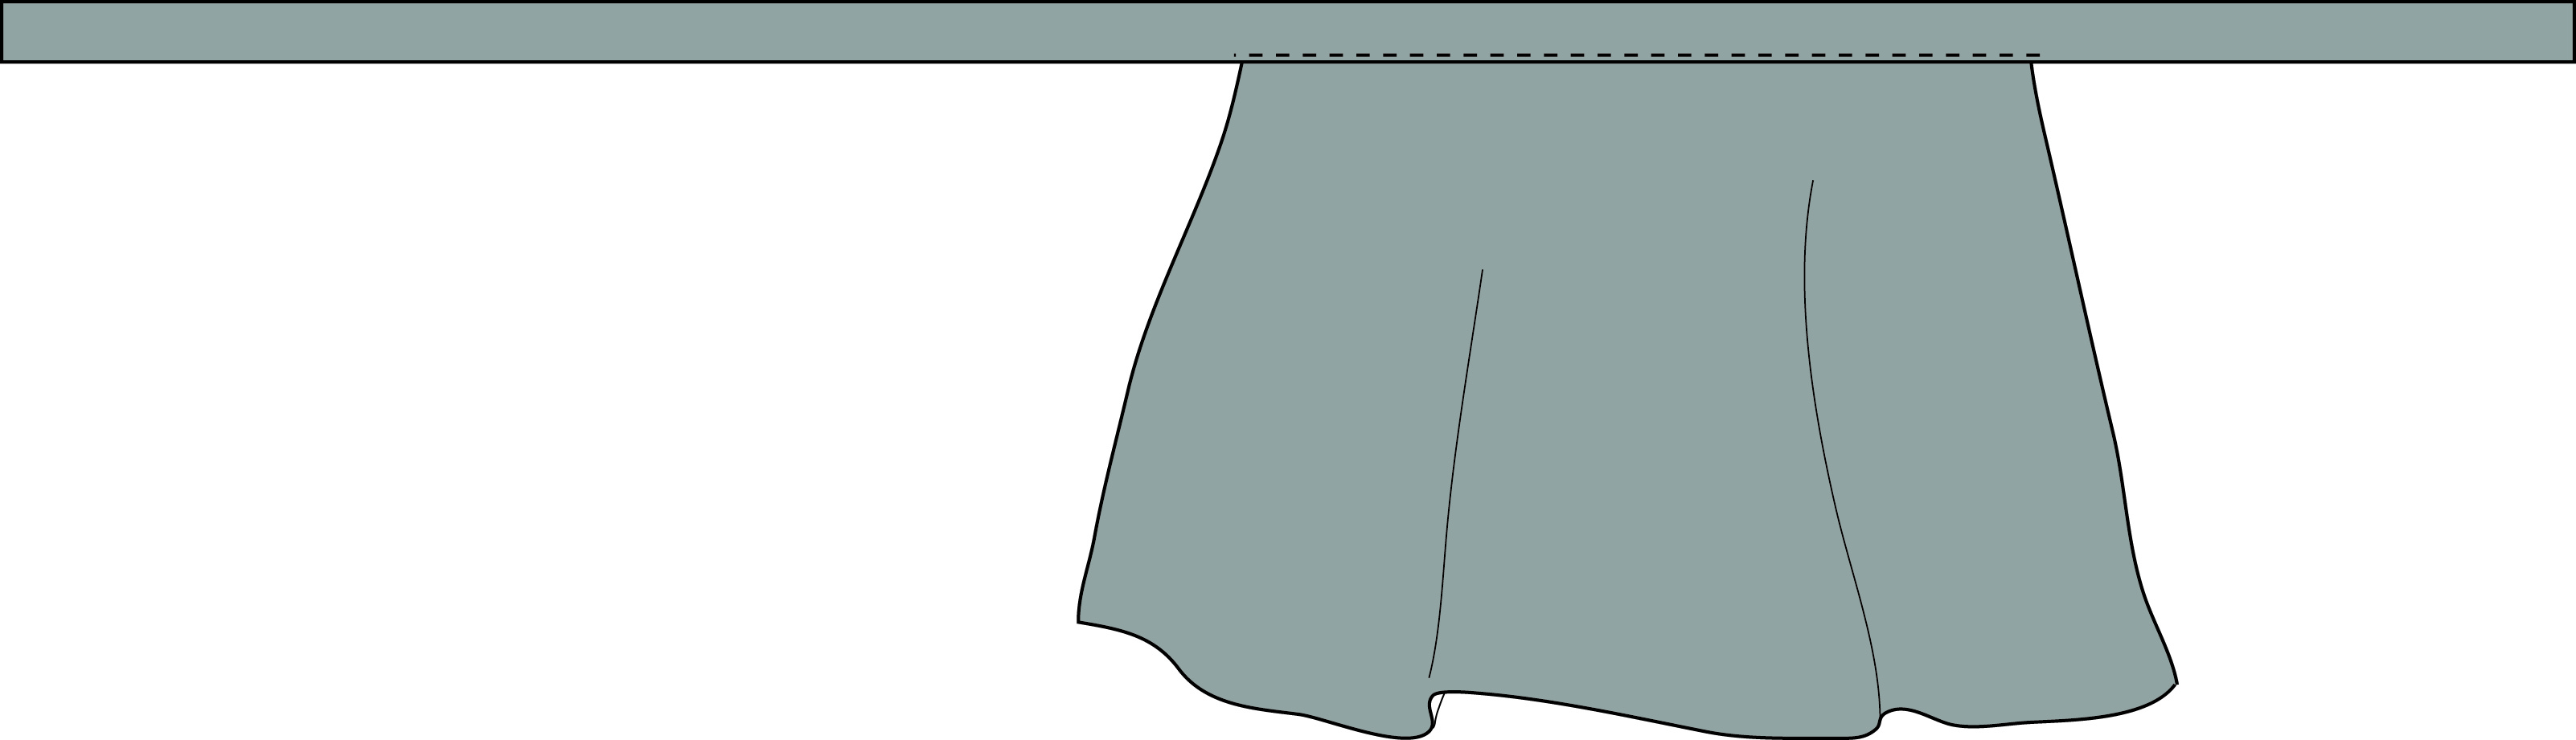
To finish the belt on your wrap skirt you have two options.
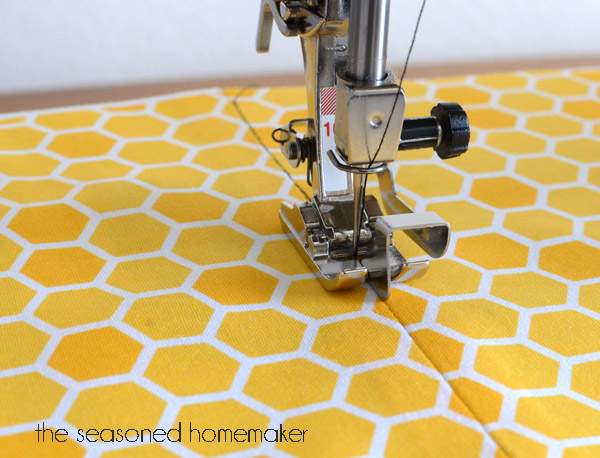
- Stitch in the ditch. This is stitching directly into the joining seam. Press under 1/4″ on the layer of the belt that has not yet been secured. Because you stitched 3/8″ on the belt ends, you will have to tapper to 3/8″ as you get close to the edges of the skirt. Then stitch in the ditch to secure the inside layer of the belt.
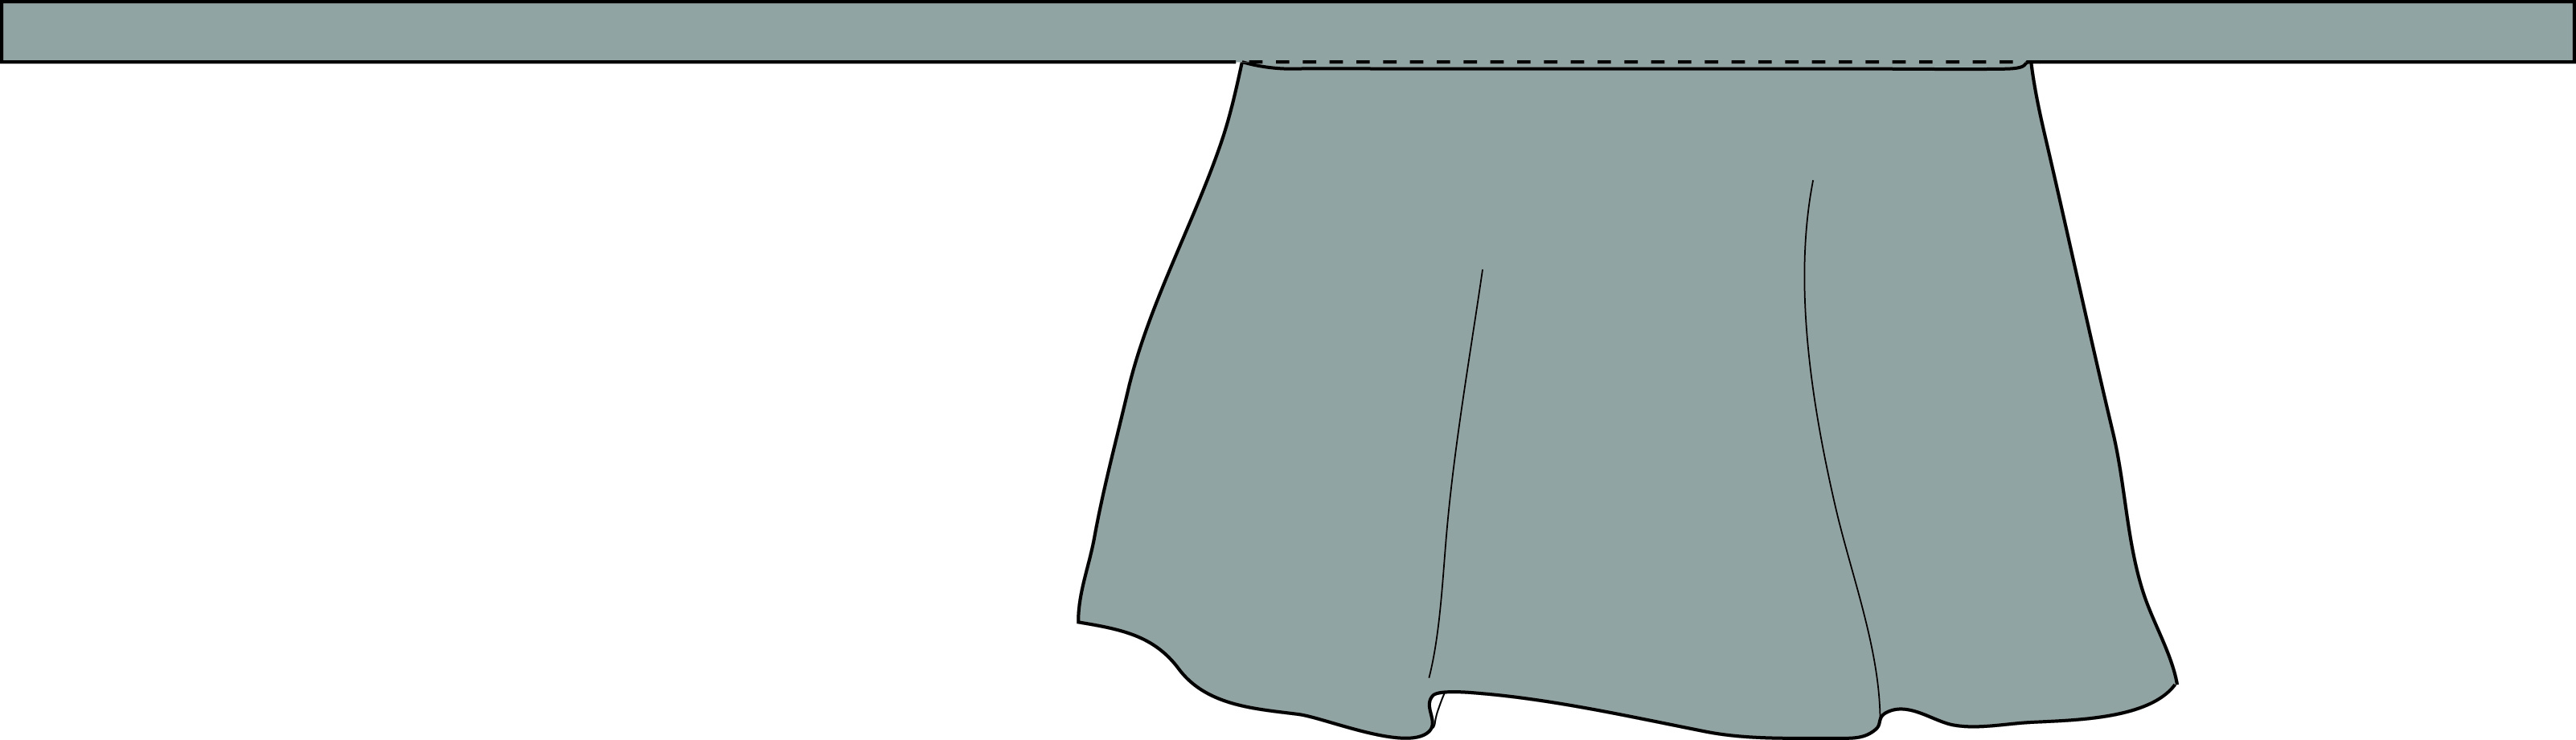
- Top Stitch. Press under 3/8″ on the layer of the belt that has not yet been secured. Then stitch close to the seam that joins the belt to the skirt on the belt side. This will secure the inside layer of the belt. Remember to back stitch at the beginning and end of the top stitching.
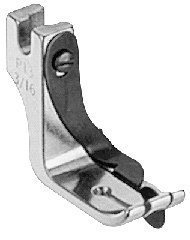
 If you have a top stitching guide foot, or a stitch in the ditch guide foot that will be really useful for this step. Here are some examples of what that might look like.
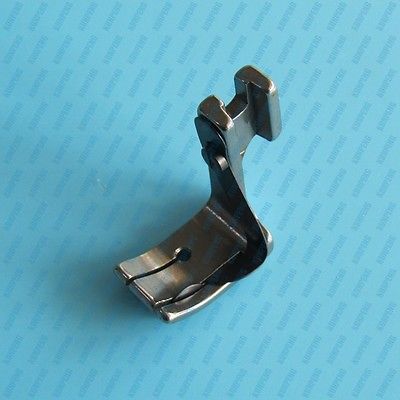
Top Stitching guide foot
Top Stitching Guide foot
Stitching in the ditch guide foot
The guide fin goes in the seam as you are sewing, so if the fin is in the same place as the needle opening, then it is a stitch in the ditch guide foot, but if the guide fin is off to one side of the needle opening, then it is a top stitching guide foot.
Feet are not very expensive and they make many tasks much easier, so I highly recommend investing in feet as you advance.
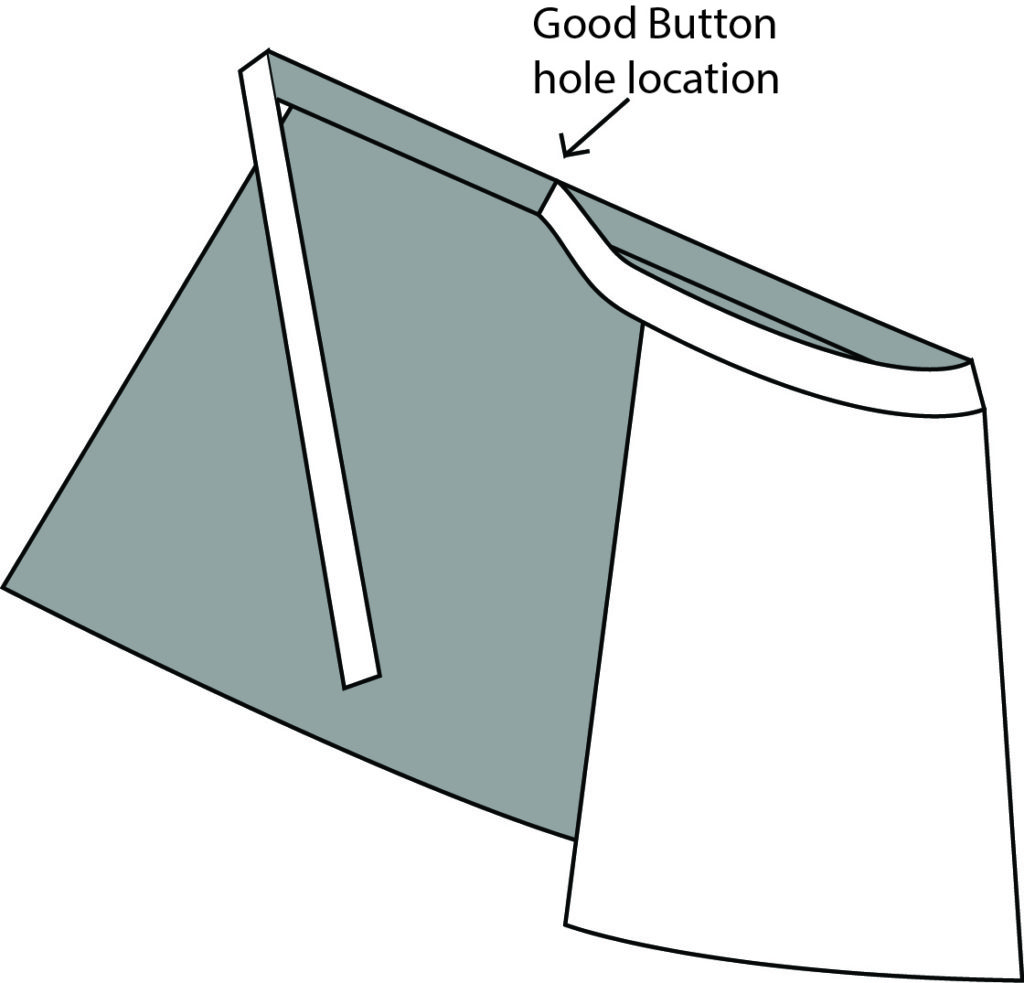
Now it is time to add the button hole. I have not marked where the button hole should fall on the pattern, because this can vary from person to person.
First decide which side you want to belt to emerge from. This is up to you although most warp skirts wrap right side over left side, so the belt emerges on the right side as well.
Once you have decided what direction to wrap the skirt you will want to put the skirt on and wrap it tight, then mark the button hole at least 3″ away from where the underside of the skirt meets the top layer. You want to give yourself a little wiggle room. You can use tailor’s chalk to mark it, or just put a pin where you want to place the button hole.
Actually sewing the buttonhole will depend on your particular machine. Since a lot of the girls in the sewing circle have Singers I have linked to a youtube video showing how to do a 4 step buttonhole on a Singer machine. Make sure you have a foot on your machine that is either specifically for a buttonhole or that has enough room for the movement of the needle side to side. If your foot looks like this, then when the needle starts moving side to side to create the buttonhole, it is going to hit the foot and break.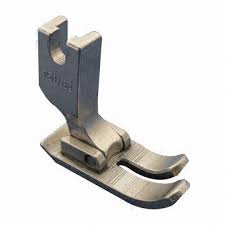 You need to have a foot that has an opening that allows the needle to move back and forth.
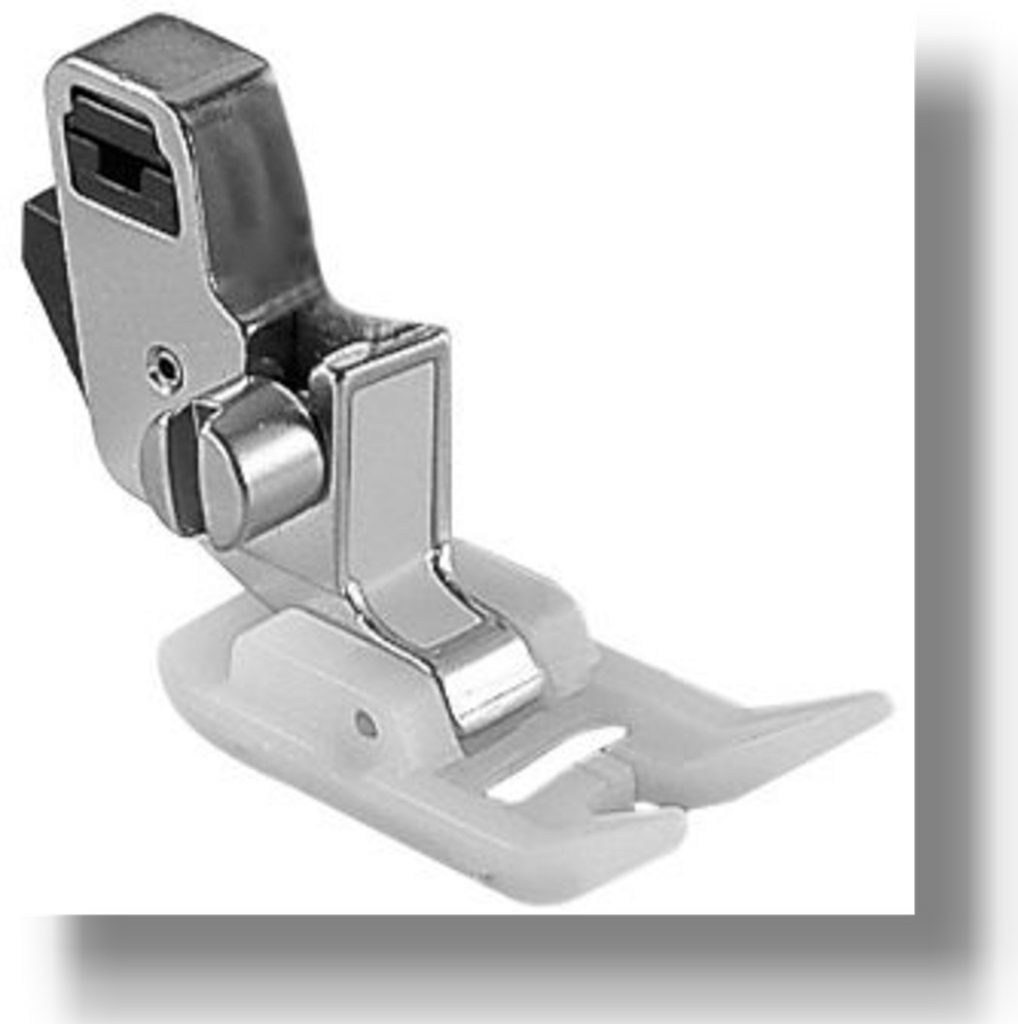
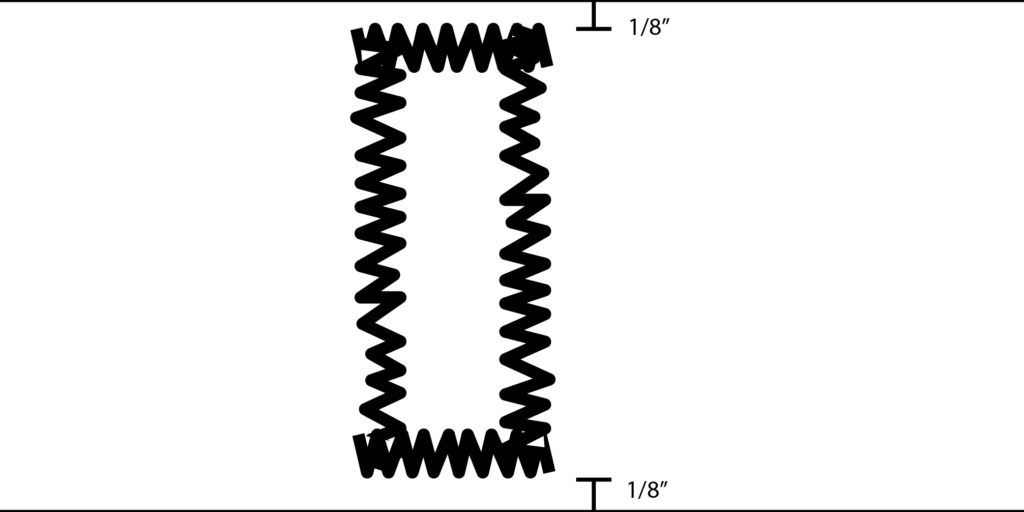
Like this one. This is not a buttonhole foot, but it has a large enough opening that it would work if you do not have a buttonhole foot. You want to make the buttonhole as long as possible, but keep it on the belt and leave about 1/8″ at the top and bottom.
After you have stitched the button hole you will need to open it. My favorite way to do this is the fold the button hole in half and use scissors to cut a small hole in the middle of the button hole. Then I unfold the fabric and stick my scissors through the small hole that I cut in the middle and cut the buttonhole the rest of the way open on either side. This is a video showing how you can open button holes with a seam ripper. She does not do this in the video but I would recommend putting a pin at the end of your buttonhole to make sure that you don’t accidentally cut through the end of your buttonhole. https://youtu.be/vnBTLIS2Nz8?t=10s