
1.Press! This is so important if you want your project to look great. Don’t ever skip an opportunity to press a seam. My iron is always set up and ready when I am sewing. It will not only help everything lay flat, it also is very important for easing in sleeve caps and getting curves to behave.
2. Hold your thread tails when you begin sewing. This is something I do without even thinking about it, but it is something that many beginning sewers struggle with. This photo is not actually how I hold my thread tails. I usually have one hand controlling the fabric and also putting light pressure on the thread tails, but I wanted to make sure you understood what I was talking about.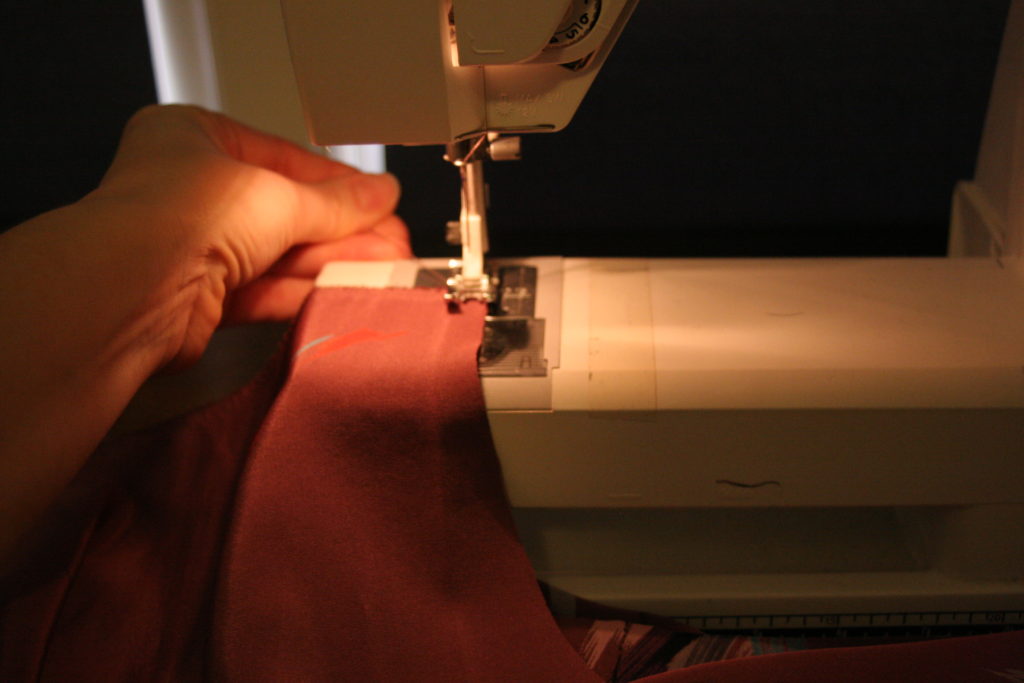
A lock stitch is formed like this

Because the threads are ‘locking’ together, they pull against each other slightly. If there is nothing for them to pull against then the thread tails will sometimes get pulled down into the machine and form a knot on the underside of your project. I remember struggling with this when I first started sewing. I thought there was something wrong with the machine, and I couldn’t understand why it happened sometimes but not others.
Once you have a few stitches completed, you do not need to hold the thread tails anymore. Now the thread is anchored by those first few stitches and cannot be sucked into the machine anymore.
3. Use glass head pins only. This is something I learned during my internship with the incredible seamstress Nora McCray. These are usually sold as quilting pins. The regular pins that are sold to home sewers have plastic heads that will melt if they get too close to an iron. I don’t even own plastic head pins anymore. I have thrown them all out. Glass head pins will help you enormously when you are trying to ease fabric as they can be ironed over.
4. Don’t be afraid of hand sewing. It will elevate your project tremendously. I only hand sew blind hems. Most home sewing machines have a stitch that is supposed to mimic a blind hem, but it just can’t compare to a truly blind hem that you can achieve through hand sewing. I also use hand sewing to temporarily secure fabric that is slippery or for whatever reason cannot be easily controlled with pins.
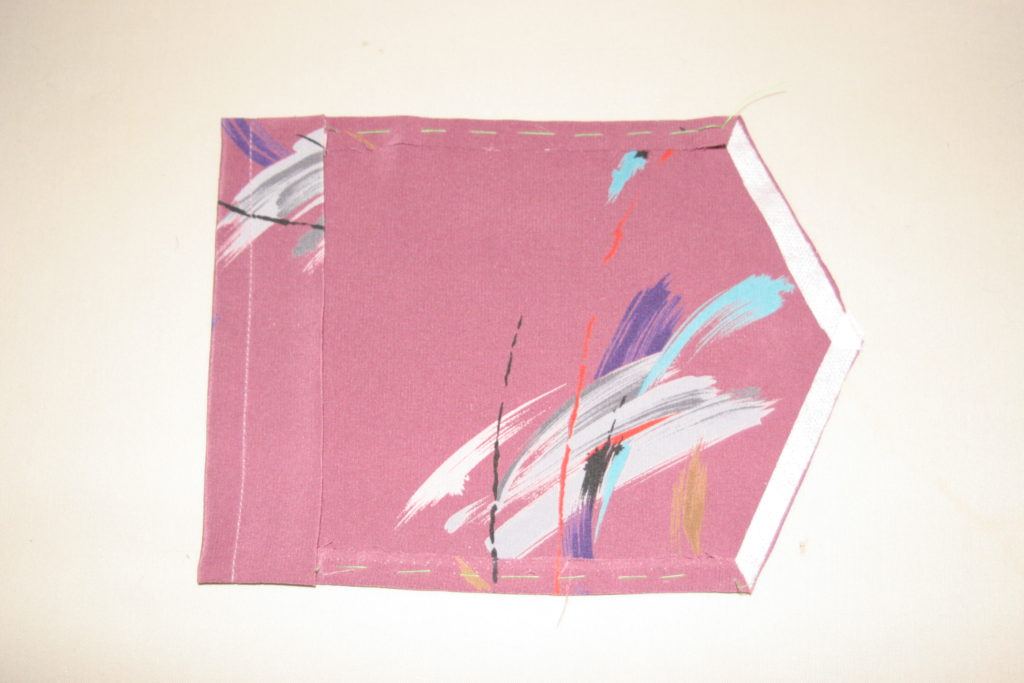
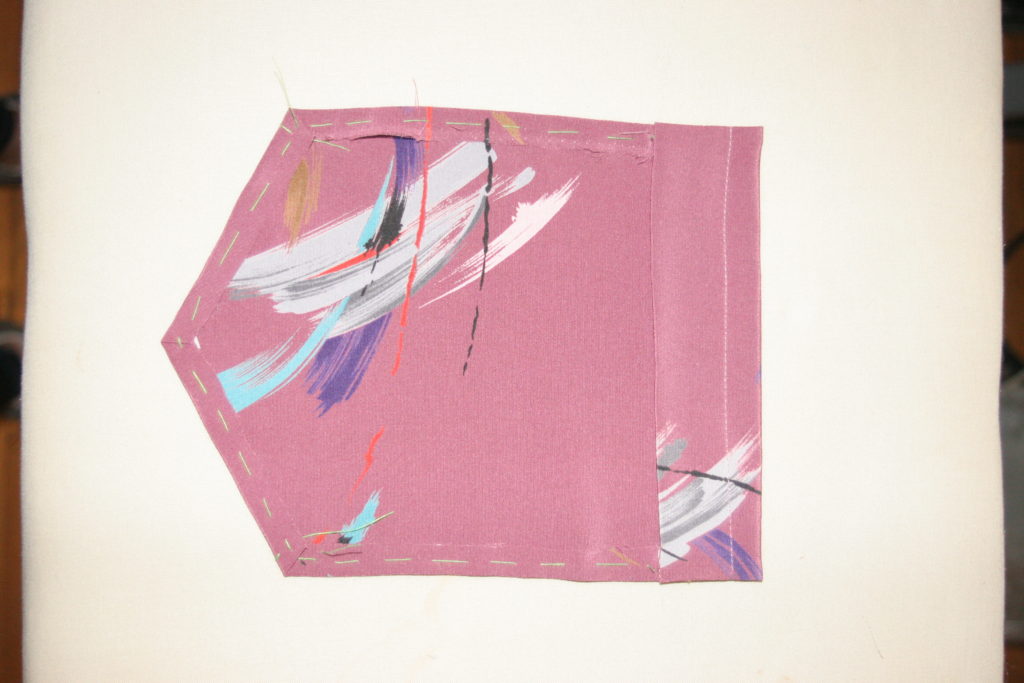
This is an example of a slippery, unruly fabric that I controlled with strips of interfacing and hand stitches that I removed after the pocket had been machine sewn into place.
5. Take your time. I have been sewing for 20 years and I cannot complete one of those 2 hour patterns in less than 4 hours. Sewing takes time. You may be thinking this can’t really be how clothes are made. It can’t take 4 hours to make one garment. First of all, it takes longer than you may think. The prices we pay for clothing do not reflect the amount of time that went into that item. The only reason clothing is as cheap as it is, is because the garment industry has been chasing cheaper and cheaper labor. Second of all, the industry has all kinds of shortcuts that you are not going to have access to, such as:
Automated cutting equipment, that cuts, notches and marks the pieces all in one.

Folders which fold the fabric for things like waistbands, edge binding, straps, hemming etc. There are often folders available in the form of feet for home sewing and they can be a great investment, but you are probably going to run into situations where you just don’t have the right size folder and it may take you an hour to do something that would have taken a few minutes in a production setting. 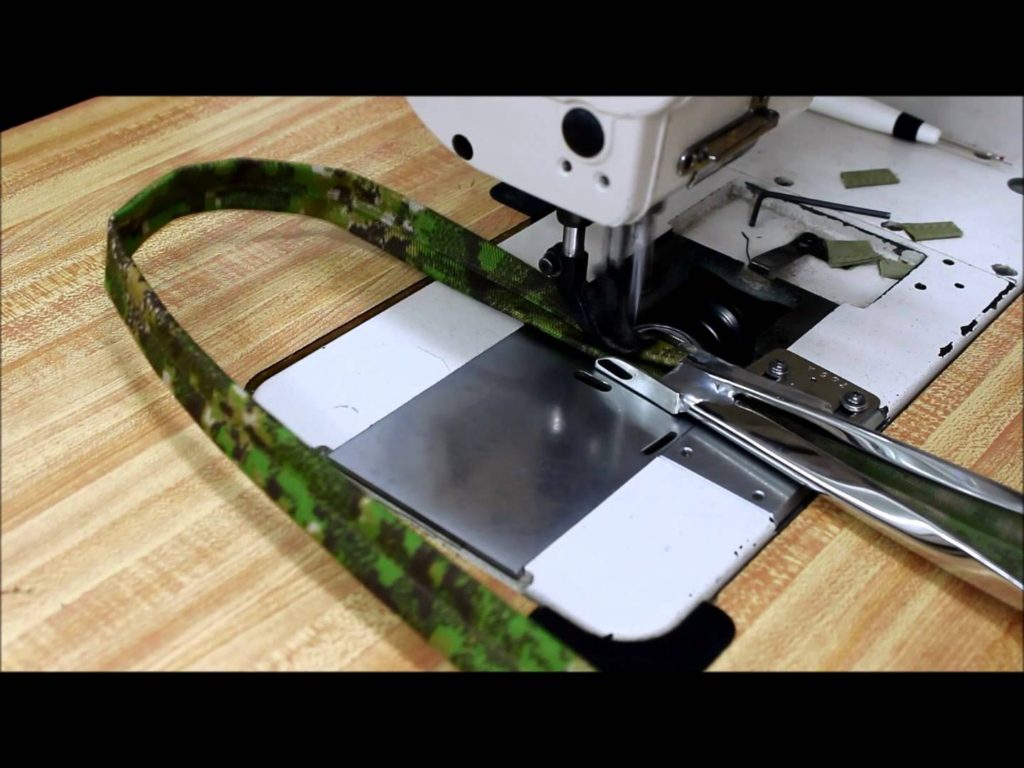
Automatic sewing equipment. There are automatic machines for many common sewing steps such as setting pockets.
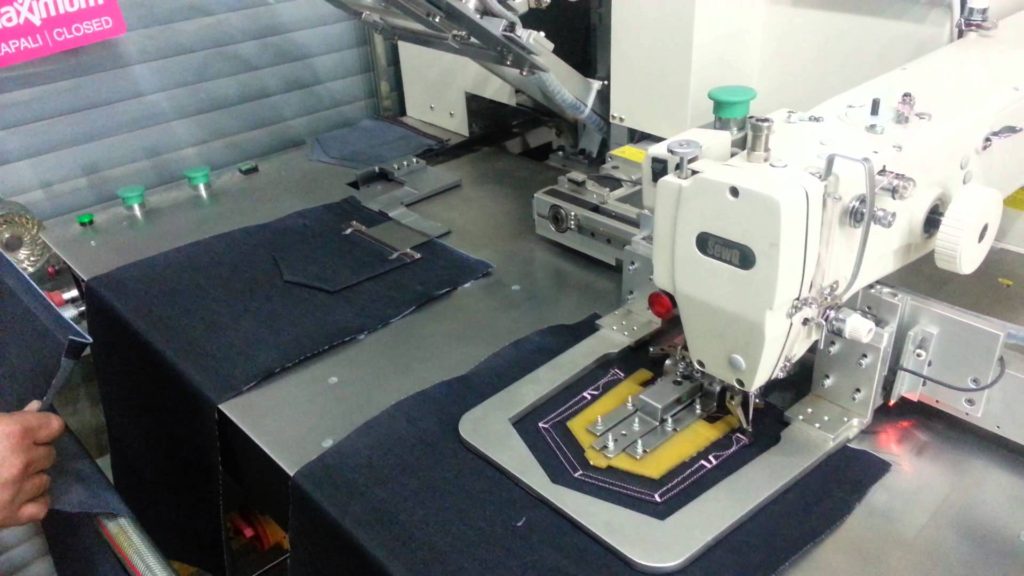
or welt pockets
The point is, quality clothes are going to take time, so don’t expect to complete a dress in few hours. Especially not if you are a beginner.
6. Use interfacing when it is called for. I used to skip the interfacing all the time when I first started sewing. That was a mistake and my projects looked sloppy because of it.
7. Make a muslin to confirm fit. This is like a practice garment made out of cheap fabric. You can skip things like pockets and even closures (You can just pin it closed on your body). This is just to make sure that it fits correctly. The name comes from the type of fabric that is typically used, but you want the fabric that you make the test garment out of to have similar properties to the fabric that you will make the final garment with, so you should not always use real muslin fabric. I have inherited a ton of fabric and I also pick up cheap fabric when I see it in the remnant area at Joann’s to use for this purpose. At first you may not be able to make fit adjustments, but at least you can check that you are making the correct size and that you like it enough to put in the time and money to make it out of the real fabric.
8. Pay attention to the type of fabric that the pattern calls for. If it calls for 100% Cotton plain weave, you cannot use Jersey knit. It absolutely matters and your projects will not look or fit the way you expect if you do not use the right fabric. That does not mean that you cannot ever sub fabric. I sub all the time, but I also understand the difference between fabric types. If you love something and it is not what the pattern is calling for, go find what the pattern is calling for and feel it, stretch it in both directions and decide if the fabric that you like is similar in character to the fabric that is being called for. If it is similar then go ahead and sub, but if not then leave it behind.
9. Pay attention to the grain line. The long line on the pattern pieces represents the grain line of the fabric. That means that the line should run parallel to the selvage of the fabric. If you ignore this line and cut your pattern pieces laying the wrong direction many terrible things could happen. 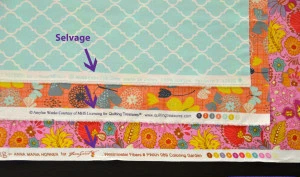
10. Don’t try to sew with the presser foot lifted. When you raise the presser foot, the tensioning disks that tension the top thread are released to allow you to pull the thread easily. If you try to sew at this point, there will be no tension on the thread and it will form big loops on the underside of the seam and might just make a big knot. This is why there are special feet that you have to use for free form quilting. The foot for free form quilting is a little bit short, so that even though you put the presser foot in the down position, the foot does not actually touch the fabric allowing you to move the fabric freely.
11. Don’t tug on the fabric if it does not easily pull away at the end of a seam. If you have finished a seam and you lift the presser foot to pull the project away and clip the threads, but it seams to be stuck, do not tug on it. What is most likely happening is that the top thread is at a point in its rotation around the bobbin where it is on the far side. All you need to do is advance the hand wheel slightly and allow the thread to advance in its rotation around the bobbin. Then it will be easy to pull it out and clip the threads.
12. Prewash your fabric. Do not skip this step. The fabric will shrink after you wash it the first time, and did you really just put in all that effort to have the damn thing shrink and not fit after the first wash? I usually wash my fabric at least twice and if it is something that I know is going to shrink a ton, like silk, I will wash and dry it 3 or 4 times.